How to verify email and phone number?
Becoming a verified user consists of verifying your email address and phone number. If the account was created as a user for another account, this process is mandatory to accept the invitation.
In all instances to verify your account:
Email
-Please Click on verify your Email
-Your email will be automatically filled in verify it is correct> Click Submit
-Please open your email on a new tab if necessary
--You will have received an email with a verification code
--Enter this code> then click Next
Phone
-You will be redirected to continue by verifying your phone number
-Enter your phone number > wait for the code> Type in the code, and you're done
--Note: You will be sent a text message for verification. If you need to verify a landline, contact our support team.
You may refer to the bottom screenshot
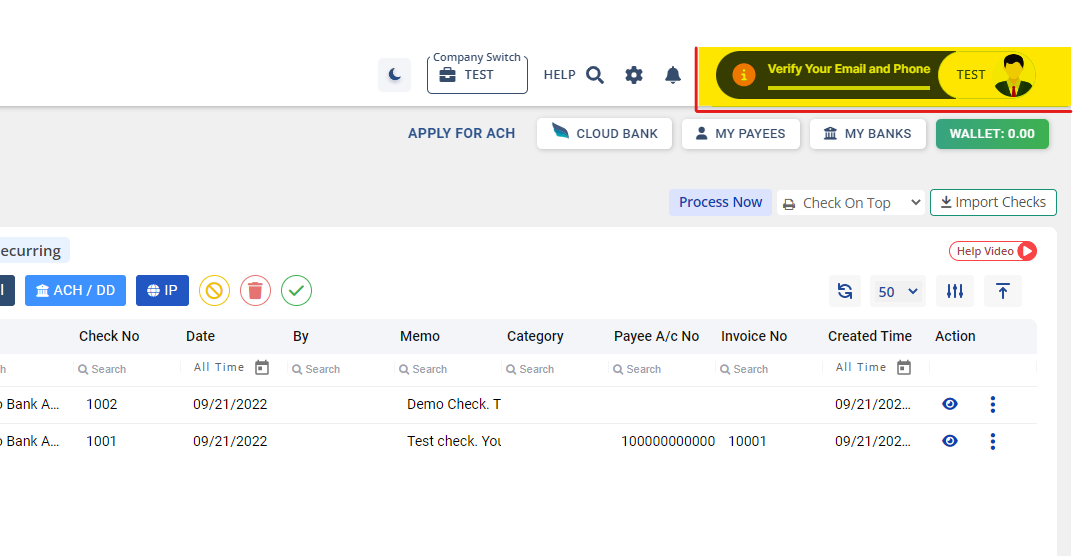
You may refer to the bottom screenshot
Once both steps are completed, your account will now be a verified user account.
Related Articles
How to apply for ACH?
Sign up with Online Check Writer. Verify your phone number and email address. Complete the personal and business verification process. Verify your bank account and apply for ACH.Can I buy a phone number?
Yes, you will be able to purchase the phone number to send and receive SMS. To use group SMS functionality, a subscription of at least the Business plan is required. There is a charge of $0.01 per SMS sent through the platform. Additionally, users ...How much it cost for a phone number?
It costs $2 per month for a phone number which you can use to send and receive SMS.How to verify VOIP Mobile Number?
To verify your VOIP mobile number, simply contact the customer service team using the registered mobile number to your account.Instant Checks by OnlineCheckWriter (Google Chrome™ Extension)
Instant Checks by OnlineCheckWriter (Google Chrome™ Extension) Home Privacy Policy Terms of Use Schedule Demo ? Need Immediate Assistance? Email: support@onlinecheckwriter.com Phone: (408) 775-7720 Website: OnlineCheckWriter.com Schedule a Demo ? ...